
Step 1: Before beginning, follow your company’s lock-out/tag-out procedure. Wear proper PPE. Reference the Steel & O’Brien maintenance manual online for additional safety precautions and technical information.
Step 2: Insert the O-ring into the carbon (no lubricant). Install the spring, cup, and carbon w/O-ring onto the drive collar to create one assembly and slide it onto the stub shaft. Be sure that the “slot” in the cup aligns with the “pin” on the drive collar.
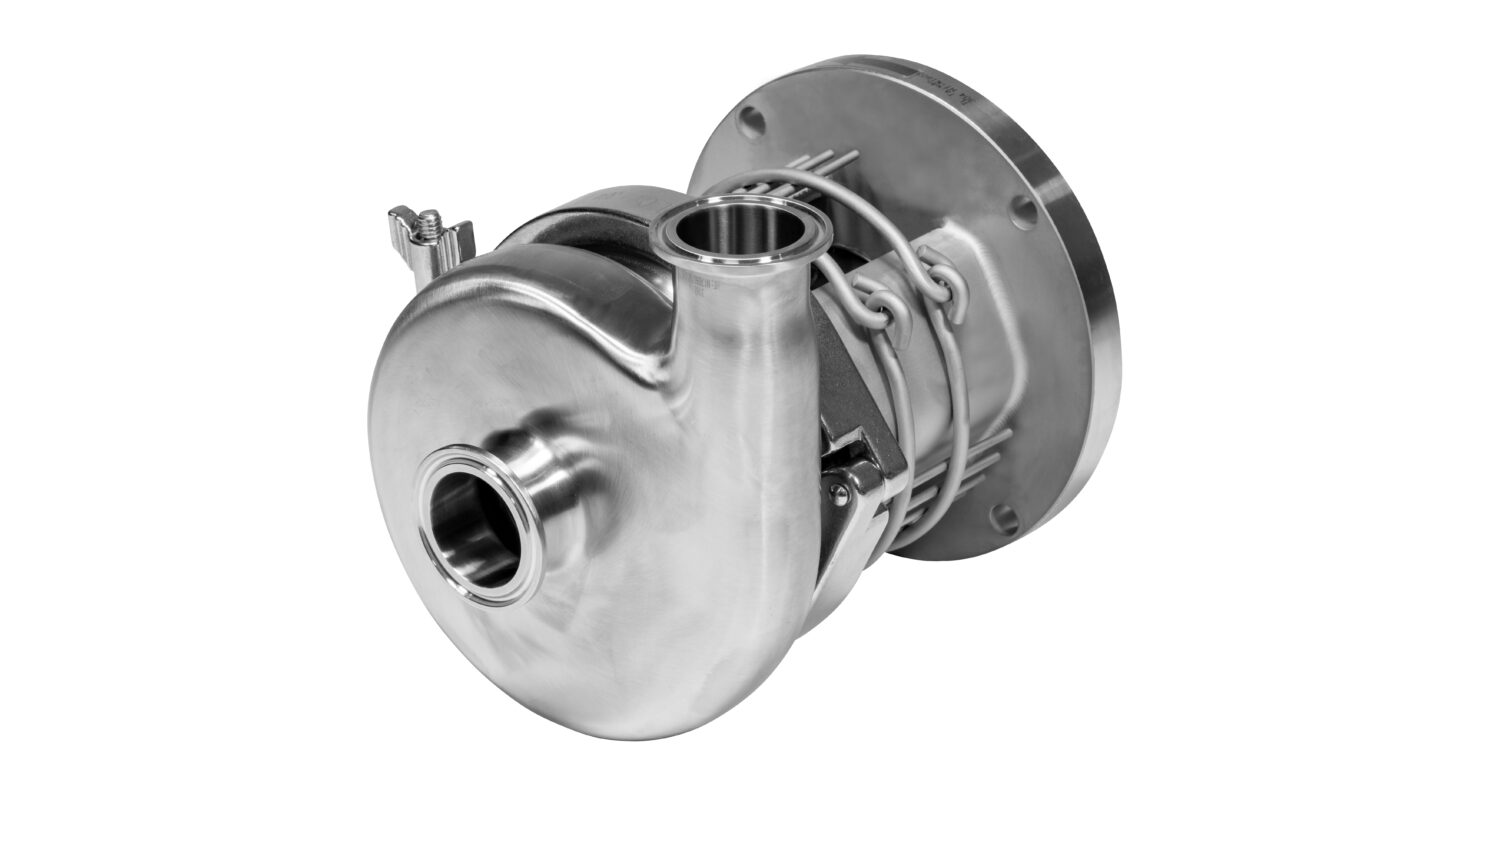
Step 3: Install backplate, casing, and casing gasket and secure with casing clamp.
Step 4: Slide the drive collar & seal assembly forward to the backplate until it pushes the carbon/O-ring tight up against the backplate. Now back the drive collar away from the backplate, a distance of approximately 1/32” (.79mm) and tighten the set screws.
Step 5: Remove the casing and backplate. If this procedure is done properly, the pump shaft should rotate by hand. If it does rotate or requires a lot of effort, check to ensure all components are installed and the drive collar is positioned properly.
If you’re working with a “DG” seal, assemble the PTFE gaskets, seal seat, gland ring, and secure to the backplate by uniformly tightening the cap screws. Note: The PTFE inboard (80R) and outboard (80P) gaskets are different thicknesses. The thicker gasket (80R) must always be installed on the impeller side to prevent contact between the impeller hub and the stationary seal.
Contact us today.
