Sometimes requirements change and it becomes necessary to replace an existing TOP-FLO® manual process valve with an automated on/off or control valve. But, before you pull the old valve out of service and replace it with a new valve, you may want to consider automating your existing valve. If your valve is in good condition you can save time and money by automating it.
Safety First
The preferred method is to remove the valve from the line and automate it in your maintenance shop but that is not always possible. If you choose to automate the existing valve in line, first and foremost, make sure the valve is not under pressure and you follow your plant’s lock-out/tag-out (LOTO) procedures before you work on the valve.
What Valve Are You Working With
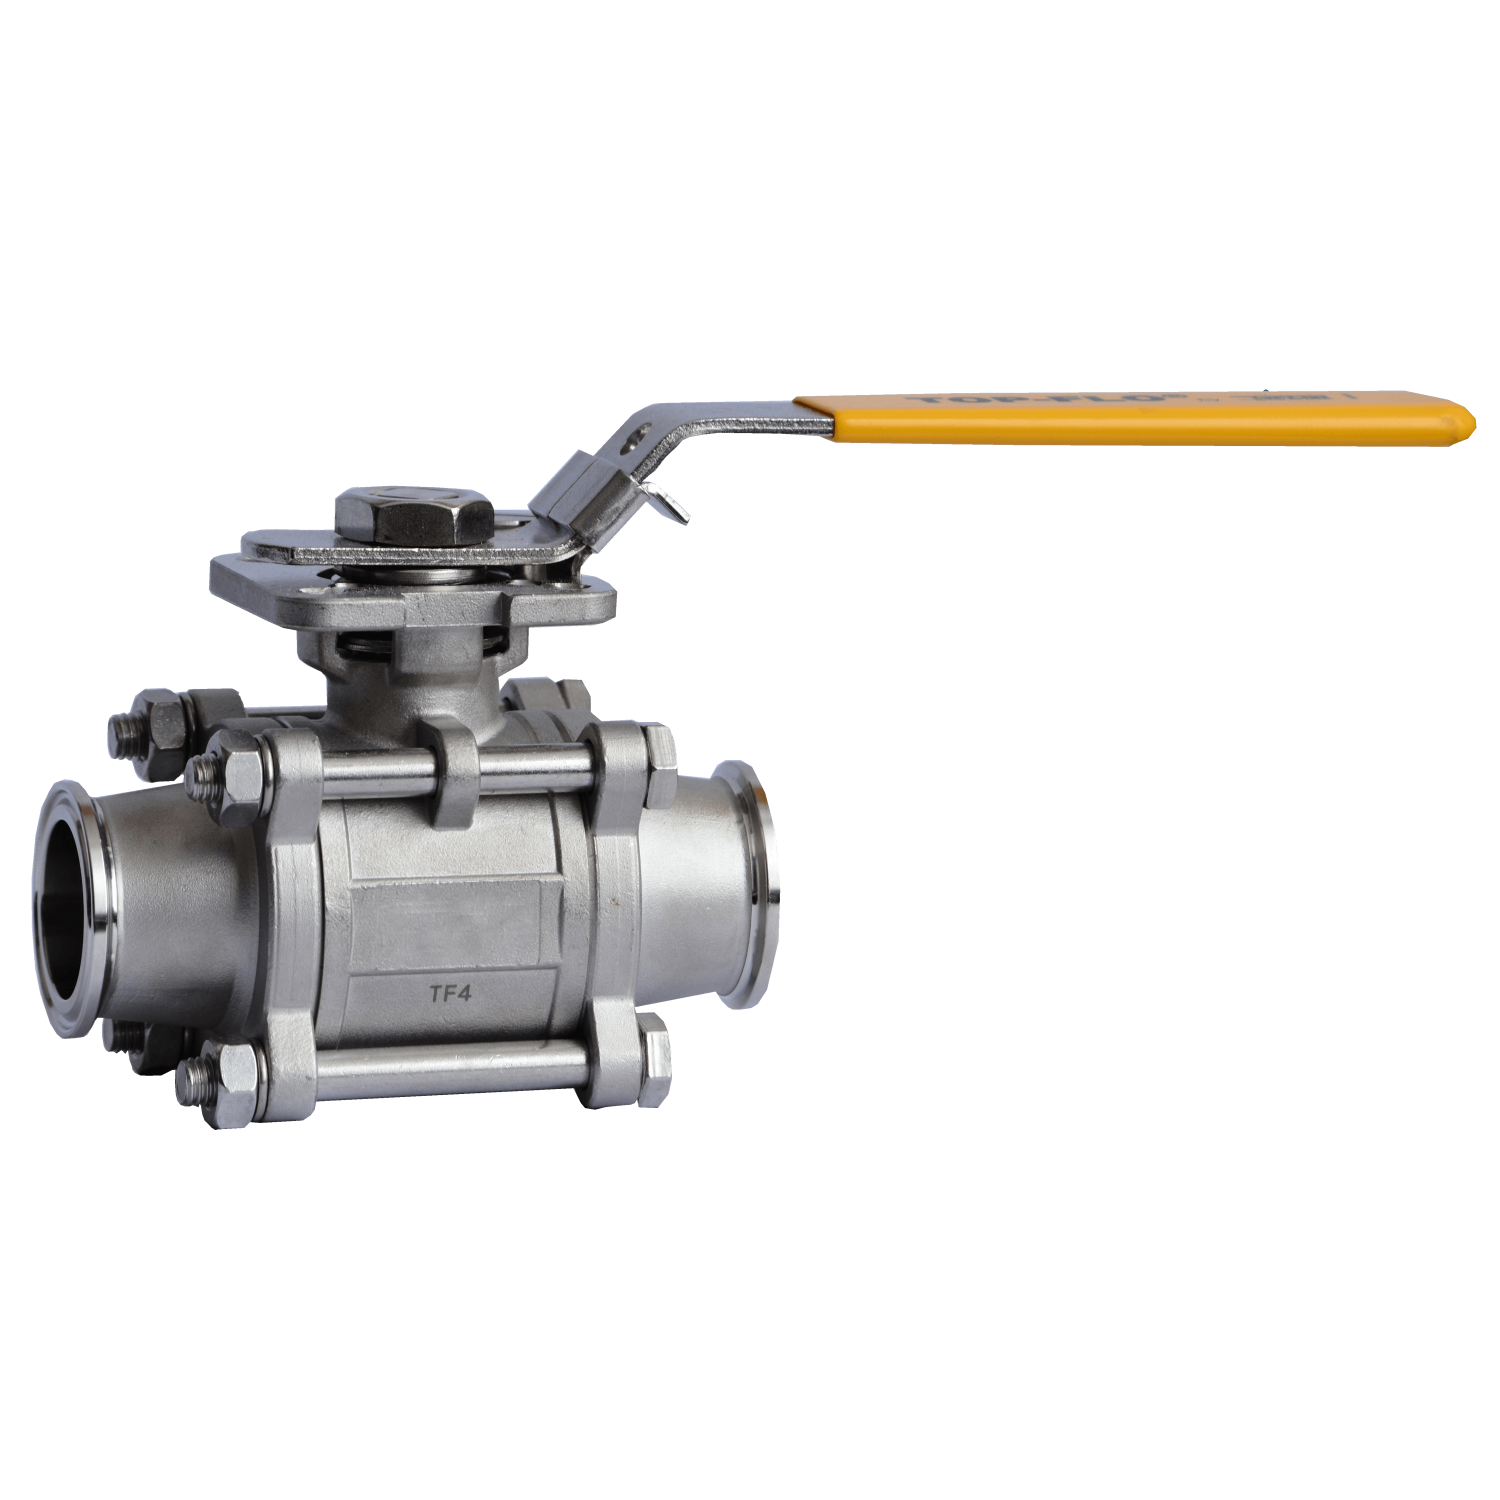
To start, identify the size and model of your TOP-FLO® valve. This will determine which actuator options are available and the required parts to make the change.
All of our TOP-FLO® Series Ball Valves are equipped with an ISO-5211 mounting pad which allows an actuator to be bolted to the top of the valve eliminating the need for a bracket. For mounting an actuator to TOP-FLO® Butterfly Valves using body bolts, bracket, and coupler kits are available. When using body bolts to mount the actuator, make sure your bolts are long enough to engage the bracket and valve body.
Selecting an Actuator
- Determine what type of actuator you require. Steel & O’Brien can supply either electric or pneumatic actuators.
- Determine the desired function of your actuator and Steel & O’Brien will make sure the actuator is the proper size for your application.
- Once you choose your actuator, consult with your Steel & O’Brien rep and obtain the proper mounting kit or parts to adapt the actuator to your valve.
- Before you install the actuator, make sure the valve position matches the actuator. In other words, if the actuator is a fail-closed actuator, make sure that the valve is in the closed position. When you mount an actuator on a valve, leave the mounting bolts slightly loose and stroke your actuator a couple of times. This will ensure that the mounting bracket is aligned properly and is not binding. Torque the bolts to the proper tightness. Once you tighten the bolts, stroke the actuator fully open and fully closed a few more times to make sure nothing is binding and the valve opens and closes smoothly.
- Finally, add any controls you need such as solenoids, limit switches, or positioners to the assembly. Attach it to your plant air and wiring and test one more time before returning the valve to service.
